Enabling Instant Debit Transfers
This feature is available upon request. Please contact us for more information.
Instant Debit Card Transfers
Instant Debit Card Transfers is a secure payment solution that facilitates immediate fund transfers between two debit cards by leveraging the established infrastructure of card payment rails. Thanks to a strategic partnership with Astra, Apto can empower cardholders with the ability to add funds to their Apto debit card instantly, by transferring money from any external debit card that they own.
Getting Started
Here’s an overview of the feature setup and approval process:
- To get started, contact your dedicated Apto customer success manager to add Instant Debit Card Transfers to your account.
- After the feature has been added, Apto will grant you access to the endpoints in Sandbox, allowing you to begin integrating in a pre-production test environment.
- Your customer success manager will work closely with you to ensure that everything has been correctly integrated in sandbox before enabling production access.
- Once you've completed your integration in production, we'll conduct a final review of your integration before your program will be approved to launch the feature to your cardholders.
Technical integration
Before making any API calls to the /instant_debit_transfer endpoints, it's essential that you contact your customer success manager and ensure that the feature is enabled for your account. If you attempt to make such calls without authorization, you will receive a 401 response.
Apto’s API integration connects to Astra’s platform, which uses an OAuth 2 mechanism to authorize and onboard users.
How to enable Instant Debit Card Transfers for cardholders
Enabling the feature for a cardholder requires three simple steps:
- Enroll/Authenticate the user in Astra (via Astra SDK URL generated in the enrollment endpoint).
- Set up an external card (via Astra SDK URL generated in the card endpoint).
- Create a transfer operation (via the
/inboundtransfer endpoint).
These steps will be explained in more detail in the following sections.
Step 1: Enrolling/Authorizing a user in Astra
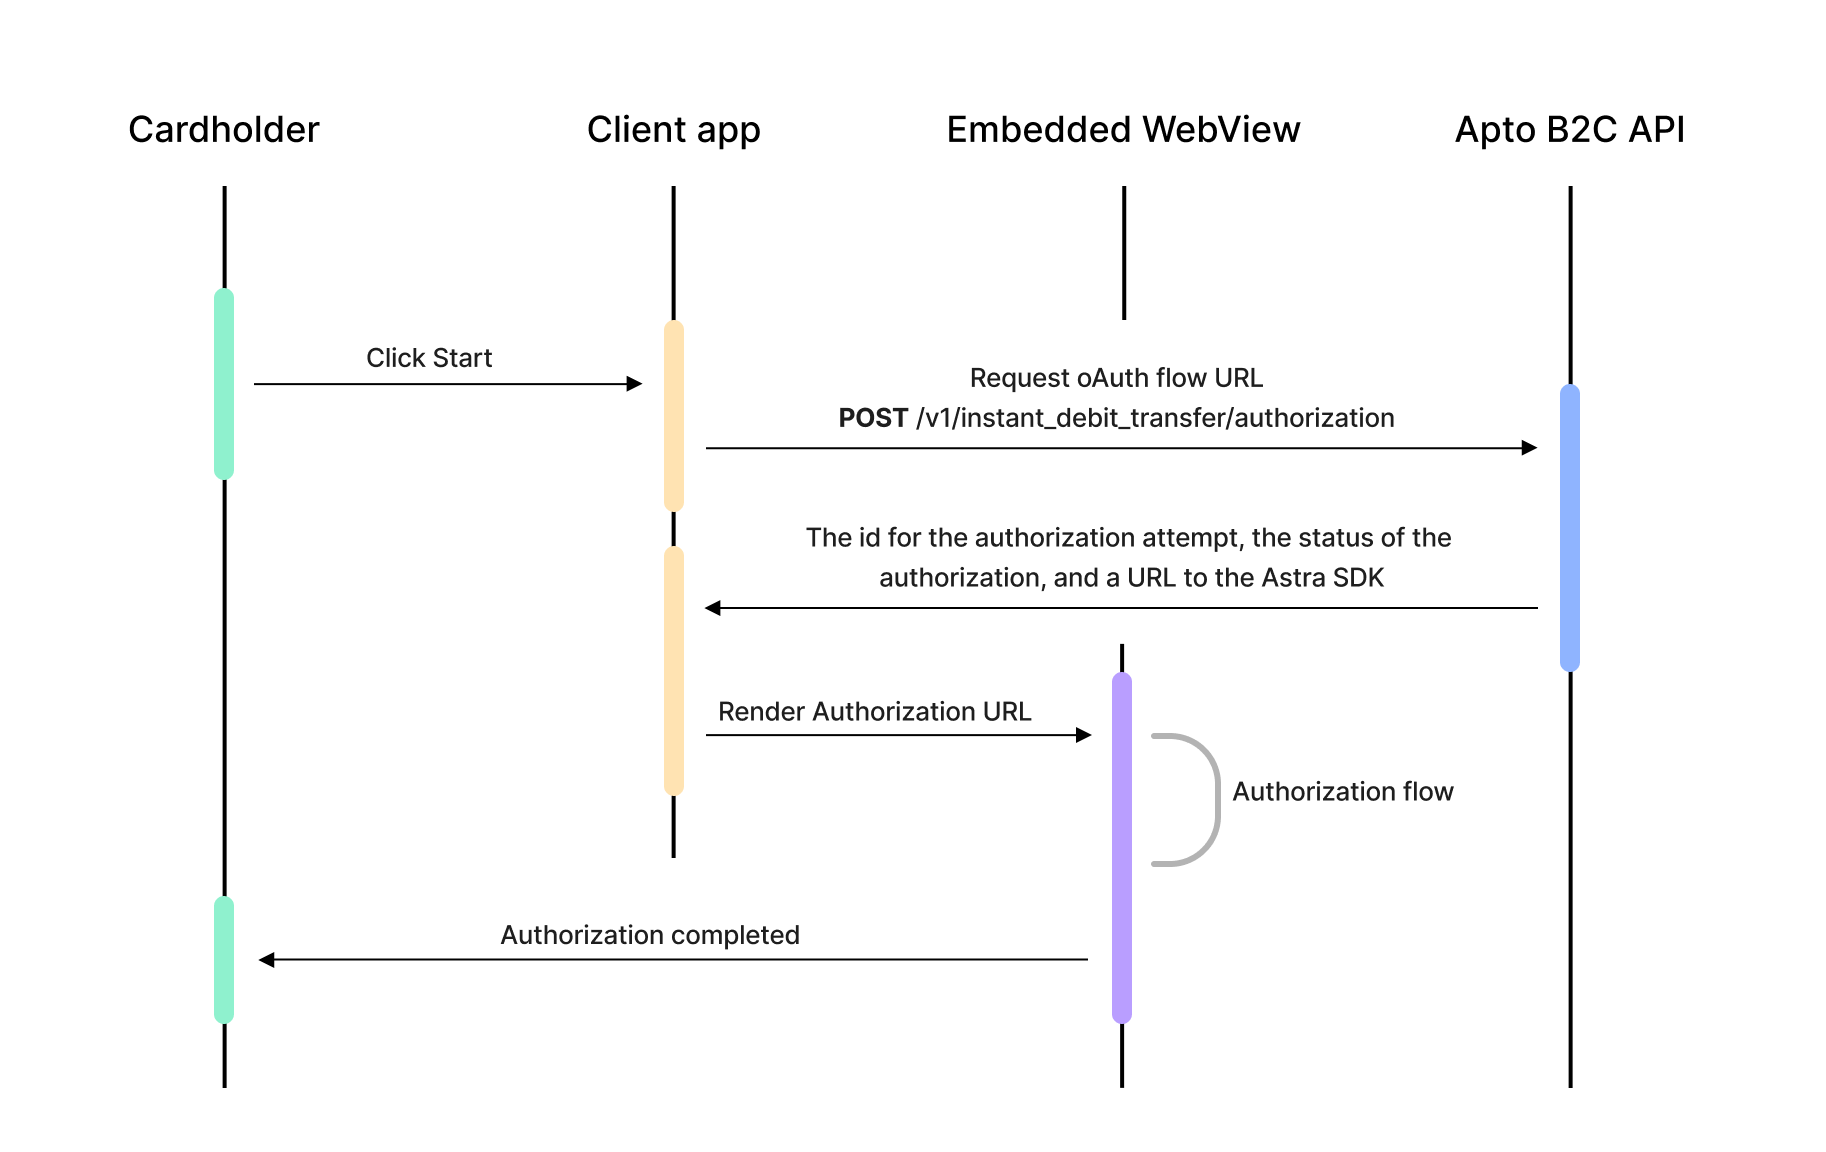
To initiate the enrollment/authorization of a user onto the Astra platform, submit a POST request to the B2C /instant_debit_transfer/authorization endpoint.
The response for this request will return the id for the authorization attempt, the status of the authorization, and a URL to the Astra SDK.
{
    "id": "auth_abcde46376482478",
    "url": "https://app.astra.finance/login/oauth/authorize?client_id=1234&redirect_uri=1234&response_type=code&user_intent_id=1234",
    "status": "pending"
}
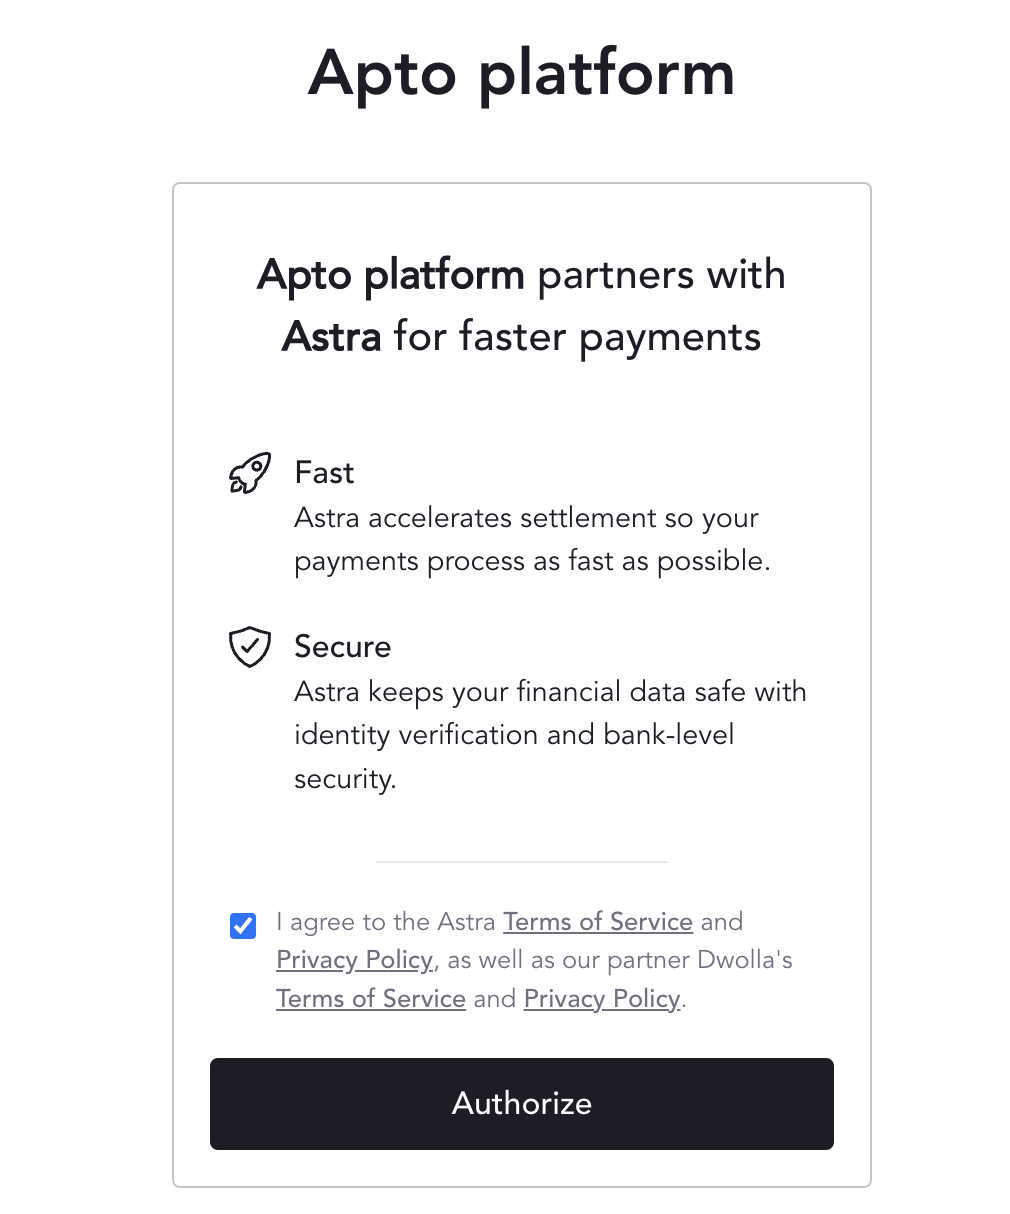
In your mobile app (or pop-up-dialog in the case of a Web App or PWA), you will be required to display the Astra SDK URL to the user in a WebView. The user will be prompted to follow steps in the Astra SDK to complete the enrollment process.
Once the user completes the Astra enrollment process, Apto is notified via a callback that the user's status has been updated to completed or rejected.
To verify that a user has successfully completed the enrollment process, submit a GET request to the B2C /instant_debit_transfer/authorization/{authorization_id} endpoint with the id that was generated earlier. We recommend checking the status of enrollment using polling, and looking for a final status of either completed or rejected.
Step 2: Adding an external card to Astra
After completing the enrollment process for Astra, users will be able to link an external card to use as a funding source for an inbound transfer.
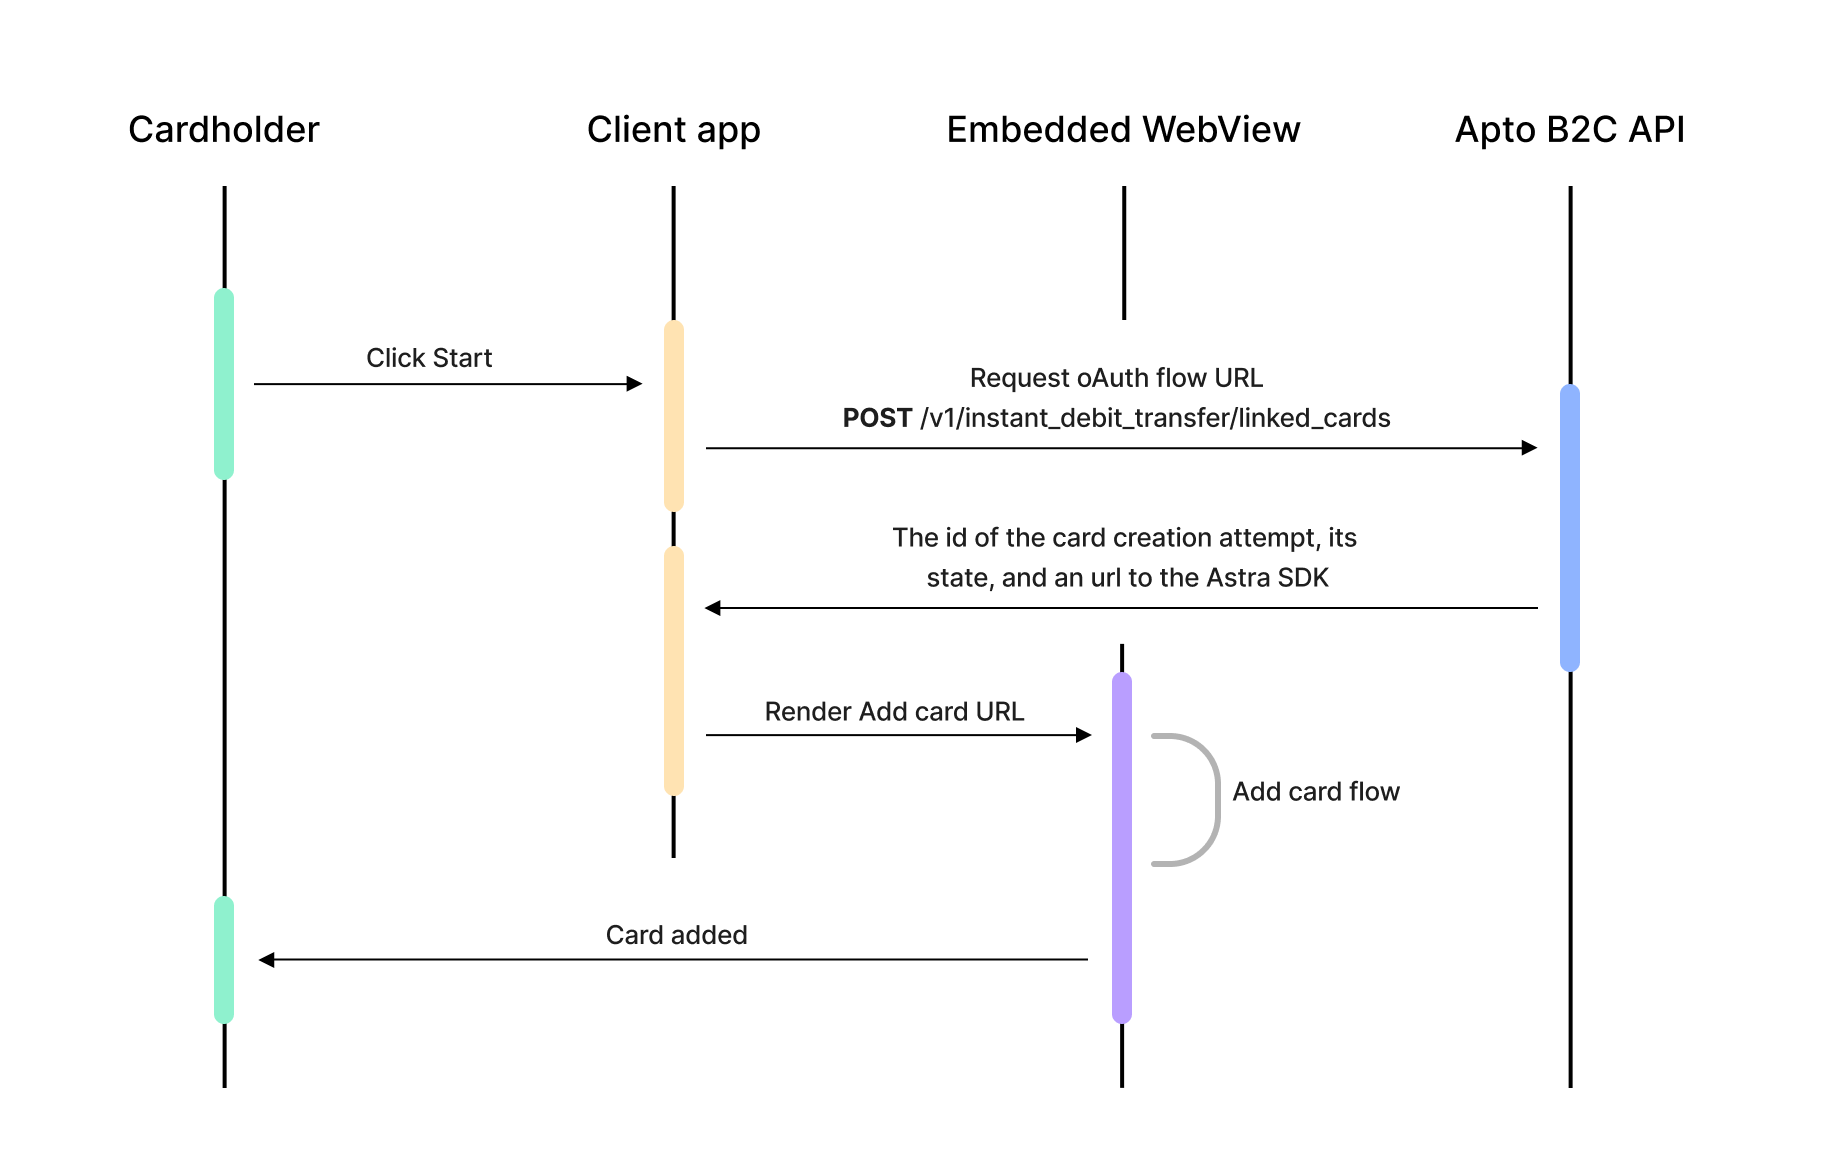
To add an external card to Astra, submit a POST request to the B2C /instant_debit_transfer/linked_cards endpoint.
The response to this request returns the id of the card creation attempt, its state, and an url to the Astra SDK.
{
    "id": "card_att_abcde46376482478",
    "url": "https://app.astra.finance/cards/connect?client_id=1234d&redirect_uri=1234",
    "status": "pending"
}
Similar to the user enrollment process, you’ll be required to display the url to the user in a WebView. The user will be prompted to follow steps in the Astra SDK to add the details of their external debit card. To view the full list of cards that a user has added to Astra, you can submit a GET request to the /instant_debit_transfer/linked_cards endpoint.
Once an external card has been added to Astra, the user is ready to create a transfer.
Step 3: Create Transfers
Transfers can be made from an external card to an internal card. To initiate an Instant Debit Card Transfer, submit a POST request to the following endpoint:
- POST
/instant_debit_transfer/inboundendpoint.
Below you will find an example API request body for an inbound transfer:
{
    "description": "Instant Debit Transfer name",
    "amount": {
        "currency": "USD",
        "amount": 135.87
    },
    "source": "linked_card_4dd7746a17e98456",
    "target": "crd_12aa2c96a548d7d2"
}
- description: an optional field to describe the transfer
- currency: only USD is supported at the moment
- source: the id of an external card that was added (Step 2)
- target: the id of the internal Apto card
The response to this request will contain the id for the transfer, the current status, and all the data inputs that were provided in the original request.
{
    "id": "aft_abcde46376482478",
    "description": "string",
    "amount": {
        "currency": "USD",
        "amount": 1457.87
    },
    "source": "linked_card_4dd7746a17e98456",
    "target": "crd_12aa2c96a548d7d2",
    "status": "completed"
}
Reauthorizing with Astra
Why is it required?
To access data from Astra, a user token (OAuth authorization token) is required, which is obtained during the user enrollment process.
It is important to note that user tokens, which are necessary for Apto to operate on behalf of the user in Astra, expire after 10 days. Once expired, the user will need to reauthorize in order to obtain a new user token.
How do I know the token is expired?
When a user token expires, API calls to the /instant_debit_transfer endpoints (except the enroll/authorization endpoint) will result in a 401 error, with the following response body:
{
    "code": 91004,
    "message": "Invalid token, please, authorize again."
}
How do I reauthorize a user?
To reauthorize a user and obtain a new token, simply repeat the instructions in Step 1. When the user logs in again with the Astra SDK, Apto will receive a callback and be able to resume operating on the user's behalf.
Capturing Astra SDK JS events
When the authorization or transfer task is completed in the Astra SDK, the web application is redirected and an event message is sent. Native apps can use this event to transition out of the flow or take other actions.
Success
{
    "domain": "apto-aft",
    "result": "success",
    "error": ""
}
Failure
{
    "domain": "apto-aft",
    "result": "fail",
    "error": "general auth error"
}
Android
If the Astra SDK is rendered using a WebView, a Javascipt interface can be used to handle and process the event. Create a new function and add the @JavascriptInterface annotation. The native app can then determine what action to take with the results. An interface class can be created to hold the new function.
class MyJsInterface(private val mContext: Context) {
  @JavascriptInterface
      fun postMessage(message:String){
          try {
              val data = JSONObject(message);
              if (data.getString("domain") == "apto-aft") {
                  if (data.getString("result") == "success") {
                      // Success
                      Log.d("AFT","JS Bridge: success")
                  } else if (data.getString("result") == "fail") {
                      // Error
                      val error = data.getString("error")
                      Log.d("AFT","JS Bridge error: $error")
                  }
              }
          } catch (e: JSONException) {
              // Error
          }
      }
}
Then the WebView should be configured to use the new Javascript Interface.
webView.settings.javaScriptEnabled = true
webView.addJavascriptInterface(MyJsInterface(context),"jsBridge")
iOS
If the Astra SDK is rendered using a WKWebView, a Javascipt interface can be used to handle and process the event. Add the WKScriptMessageHandler protocol to your object and implement the userContentController function. The native app can then determine what action to take with the results.
extension IDCTView: WKScriptMessageHandler{
    public func userContentController(_ userContentController: WKUserContentController, didReceive message: WKScriptMessage) {
        guard let dict = message.body as? [String : AnyObject], dict["domain"] as? String == "apto-aft" else {
            return
        }
        if let result = dict["result"] as? String {
            if result == "success" {
                // Success
            }
            else if result == "fail" {
                let error = dict["error"] as? String
                // Error
            }
        }
    }
}
Then the WKWebView's userContentController should be configured to use the new handler.
let contentController = self.webView.configuration.userContentController
contentController.add(self, name: "jsMessageHandler")